Learn how to easily download fonts to Cricut Design Space. Also, a video tutorial on how to use a character map to find the extra characters!
I have a small confession to make… I’m obsessed with fonts! Who else is with me?? It is so easy to download fonts to Cricut Design Space and then use them to make whatever project you want.
The one thing that gets tricky is making sure you have permission to use the fonts if you are going to sell the items or cut files. You need to make sure you have a commercial use license for the fonts you are using.
One way I do this is by getting my fonts from Fontbundles.net!
They have tons of amazing fonts, bundles of fonts and designs at crazy low prices. I have gotten some cool fonts for free or super cheap from them in the past, so when they wanted to sponsor a post and give me some fonts to play with it, I, of course, said “Yes!!!”!
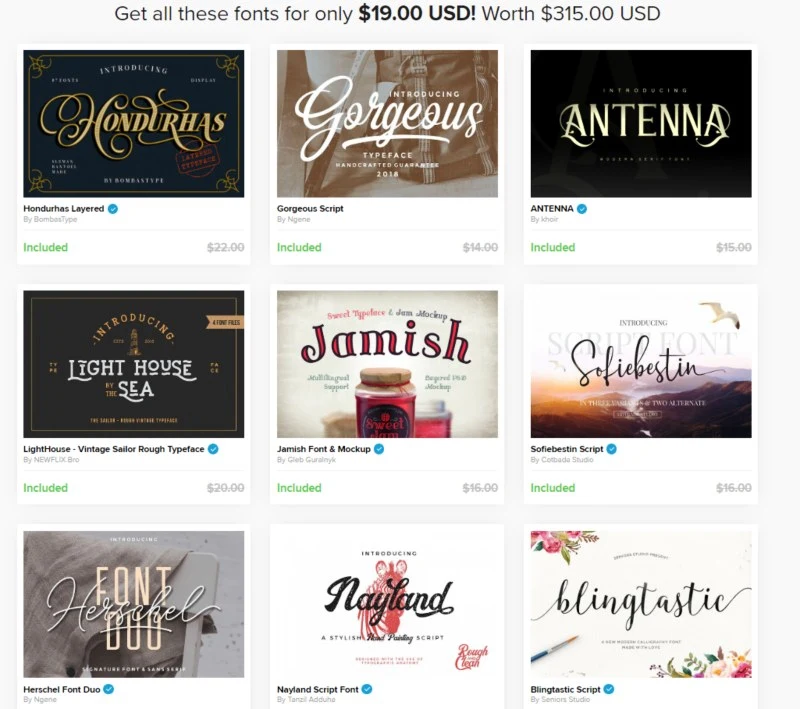
When you visit FontBundles.net, they have all sorts of deals and bundles for limited times and are always releasing new ones. Check out this amazing Fantastic Font Bundle Vol ll that contains 40 fonts for only $19!
Of course, this comes with a premium license for commercial and personal use but it is only available for about a month so make sure you jump on over to get it now!
So much fun stuff you can make from all these gorgeous fonts, right?? It’s hard to pick a favorite out of them!
I especially love when there is a font duo like Crolinesy Daggers font or trio like History so I know that those fonts will look great together, and it takes that extra guess-work out. Saving time is always a huge bonus!
You could use Gorgeous or Bold Brush for just putting a beautiful script name on a tumbler (click here for a tutorial on how to apply vinyl to a tumbler) or tote. Or create a file of your favorite movie or book quote and apply it to a t-shirt (click here for step by step directions on making a heat transfer t-shirt) or make a DIY sign with it (click here for tutorial on how to make a sign!)
For a more detailed written tutorial, check out my everything Cricut text and font tutorial and about Cricut writing fonts here.
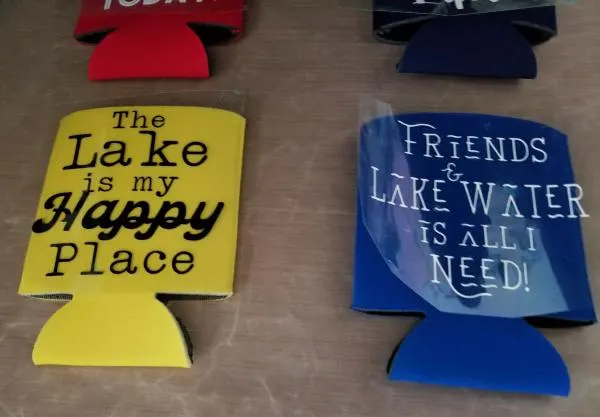
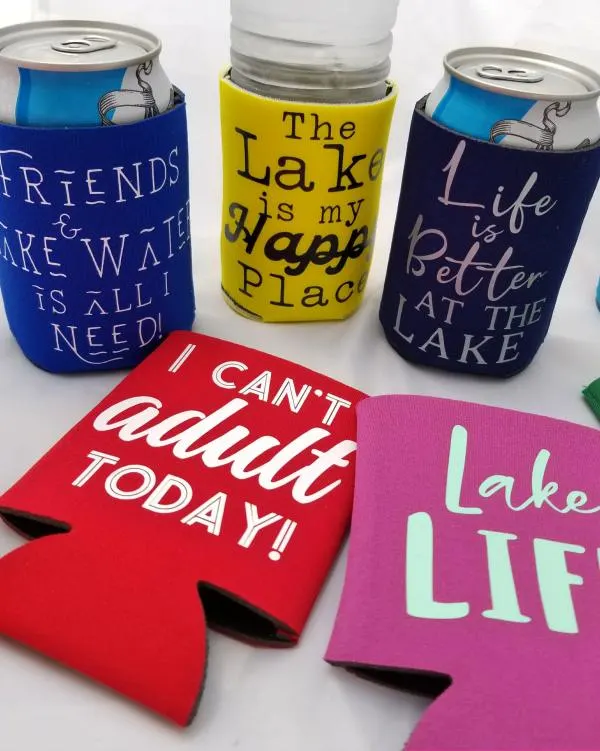
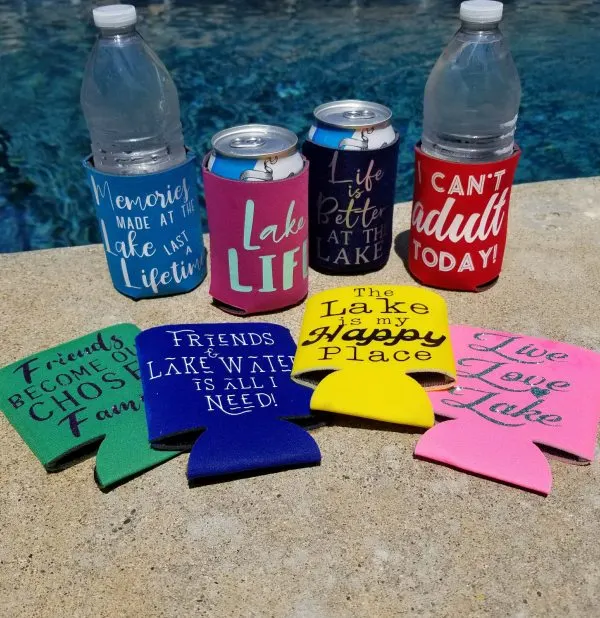
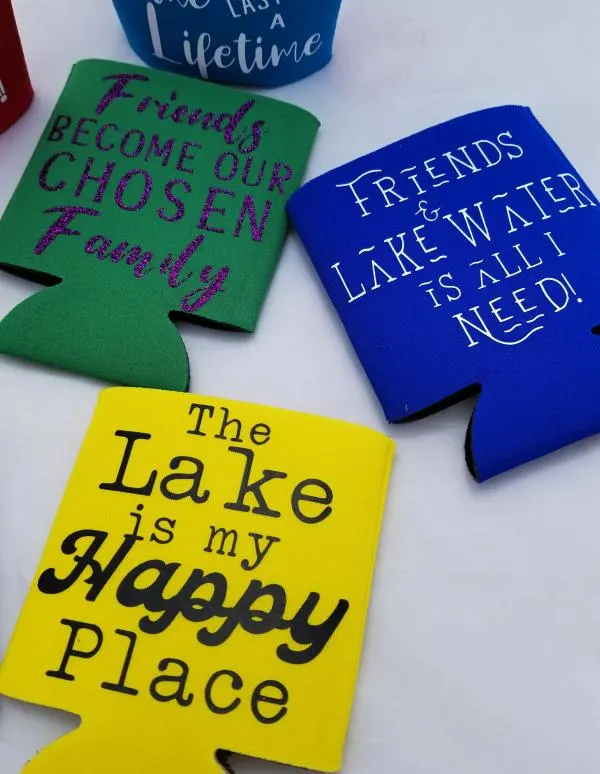
I ended up making a bunch of koozies for our lake vacation coming up and I used all the fonts in the Fantastic Font Bundle II to design them. I love how they all came out! This is a great project for fun, party favors, wedding favors or gifts in general.
You can put any saying you want on them when you are making your own cut files and this is a great project to use up those small pieces of iron-on vinyl (I know every crafter has a lot of those scraps!!)
I’ve also made personalized koozies for a cruise with friends and have some FREE SVG cut files so make sure to check it out!
Materials Needed for DIY Koozies Personalized with HTV
Disclosure: This post contains affiliate links from Amazon and/or Cricut.com. I receive a small commission at no cost to you when you make a purchase using my links (purple text).
- Koozies – I got these from Amazon, super cheap and easy to use!
- Cricut cutting machine – always check prices between Cricut.com and Amazon (click links to compare!) – If you’d like to know more about these machines, click here to check out my ultimate Cricut resource guide
- HTV or iron-on vinyl, color of your choice
- Heat Press or Iron
How to Make Your own Koozies with Heat Press
The first thing you’ll want to do is create your cut files in Cricut Design Space. Since it’s much easier to watch this process than to look at pictures, I made this instructional video for you on how to download fonts to Cricut Design Space, how to create files with them, and how to use the extra characters that come with purchased fonts to make your file totally unique!
If you are working on an Ipad, check out my tutorial on installing fonts on an Ipad.
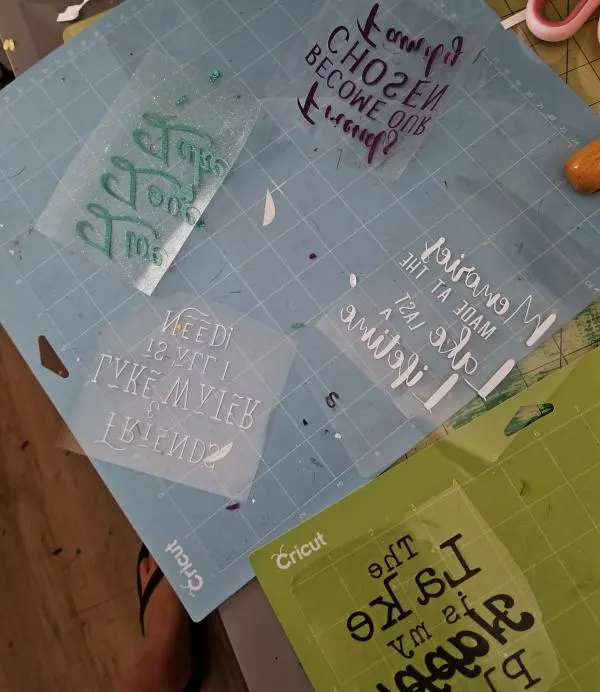
Once you have your file, cut it out of iron-on or HTV on mirror setting. Weed out the extra vinyl. If you need help with this step and want to see a video tutorial click here.
I preheated my heat press to 285. Lay 4-5 koozies on the pad and center the iron-on over them. Press for 20 seconds. (If you’d like to check out the heat press I use and how to use it click here!)
If you don’t have a heat press, follow the instructions on the vinyl on how to iron it on.
Then remove the plastic backing. I like to place a Teflon sheet on top and press for another 20 seconds. If you are adding a monogram or name, turn the koozies over and press the monogram on the other side.
That’s it! So easy and these make such fun and cheap koozies for anyone!! Your friends will be so impressed!
All of these cut files were made exclusively with fonts from The Fantastic Font Bundle II! So many ways you can use these fonts and it’s so hard to choose my favorite koozie. Do you have one??
Now that you know how to download fonts to Cricut Design Space, what would your DIY koozie say??
If you’d like to save these ideas for later, you can PIN it now if you’d like!
Thanks so much for stopping by! Have a creative day!











Jessica
Sunday 8th of July 2018
I am so new to my cricut... I'm wondering how to organize svd''s after unzipped or fonts. I just went crazy since just starting with the freebis etc. Now I'm worried bc it's like a tornado of downloads etc. Also is there a good tutorial to learn how to MAKE a car decal or wall decals? Also, I'm an avid loom knitter,some weaving, a think outside the box person to save money on diys. I just did a DG 8x8 canvas, DG brown spray paint, then distressed with copper ink pad, applied 651 vinyl "home sweet home" words to it in white, clear spray paint when finished. Thanks for all you do.
Leap of Faith Crafting
Monday 9th of July 2018
Hi Jessica, I'm not very good at organizing my files! I have a Cricut file that I download them all too. If I'm doing a bunch I try to upload them to CDS before I forget what I have because then I waste a lot of time looking through my files! If you find a good way, let me know!